
There’s a panel heater in just about every outdoor cabinet and unheated control room in the country, and most of them were sized by guesswork. Someone picked a wattage that “looked about right,” mounted it, and moved on. Sometimes it works.
Sometimes the cabinet still sweats in the spring, and sometimes the heater is so oversized it bakes the VFD next to it.
An anti-condensation heater is a small, boring device with a big job: keep the inside of the enclosure above the dew point so water never condenses on terminals and components. Sizing it isn’t hard. You just need to work through a few factors instead of grabbing a number off a shelf.
What the heater is actually doing
Worth saying once clearly: a cabinet heater doesn’t dry the air. It warms the air so the dew point stays below the coldest surface in the box. No surface reaches the dew point, no condensation, no corrosion.
That’s why these heaters are usually paired with a thermostat or a humidity controller, so they only run when the temperature drops or humidity climbs, rather than heating a panel that’s fine all summer.
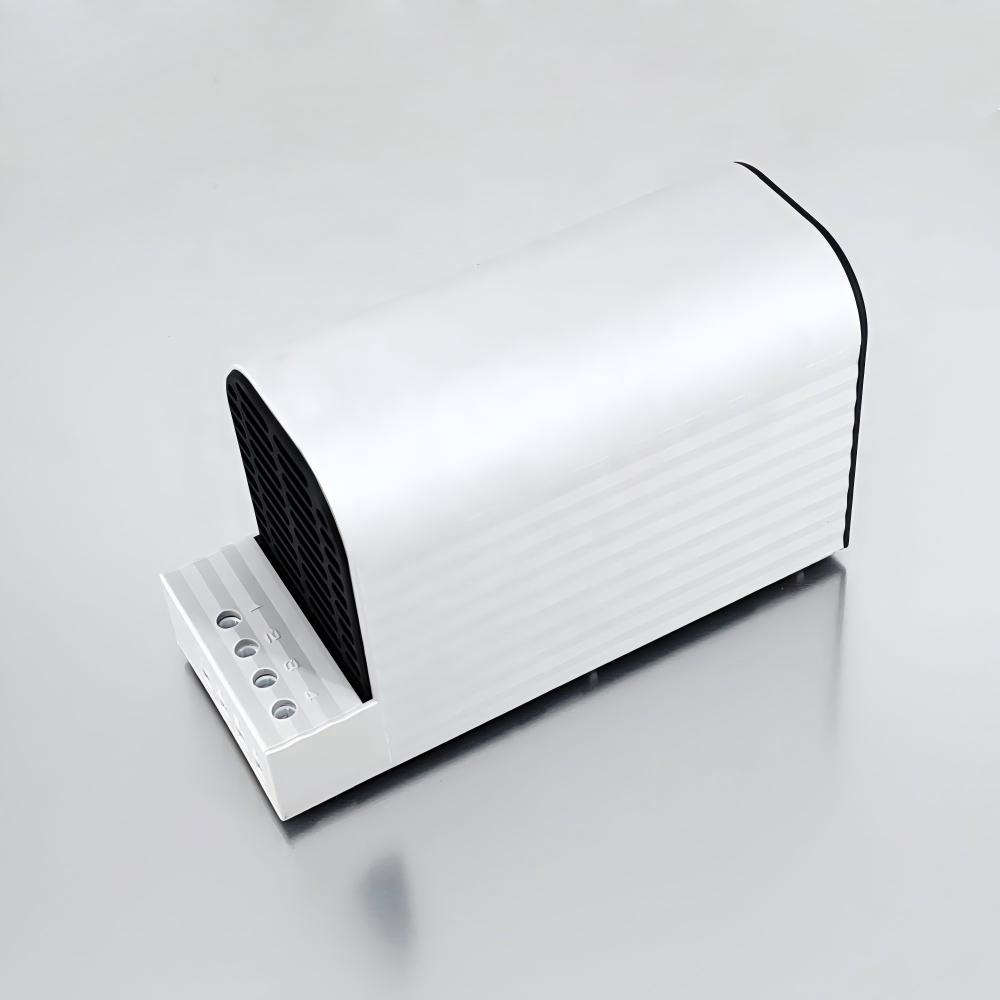
The wattage you need depends on one thing: how fast the cabinet loses heat to the outside at the worst moment of the year. Size for that moment and the rest of the year takes care of itself.
The simple math
The standard approach treats the enclosure like a box that leaks heat through its surface. The basic formula looks like this:
Heat needed (watts) = surface area × heat loss factor × temperature difference
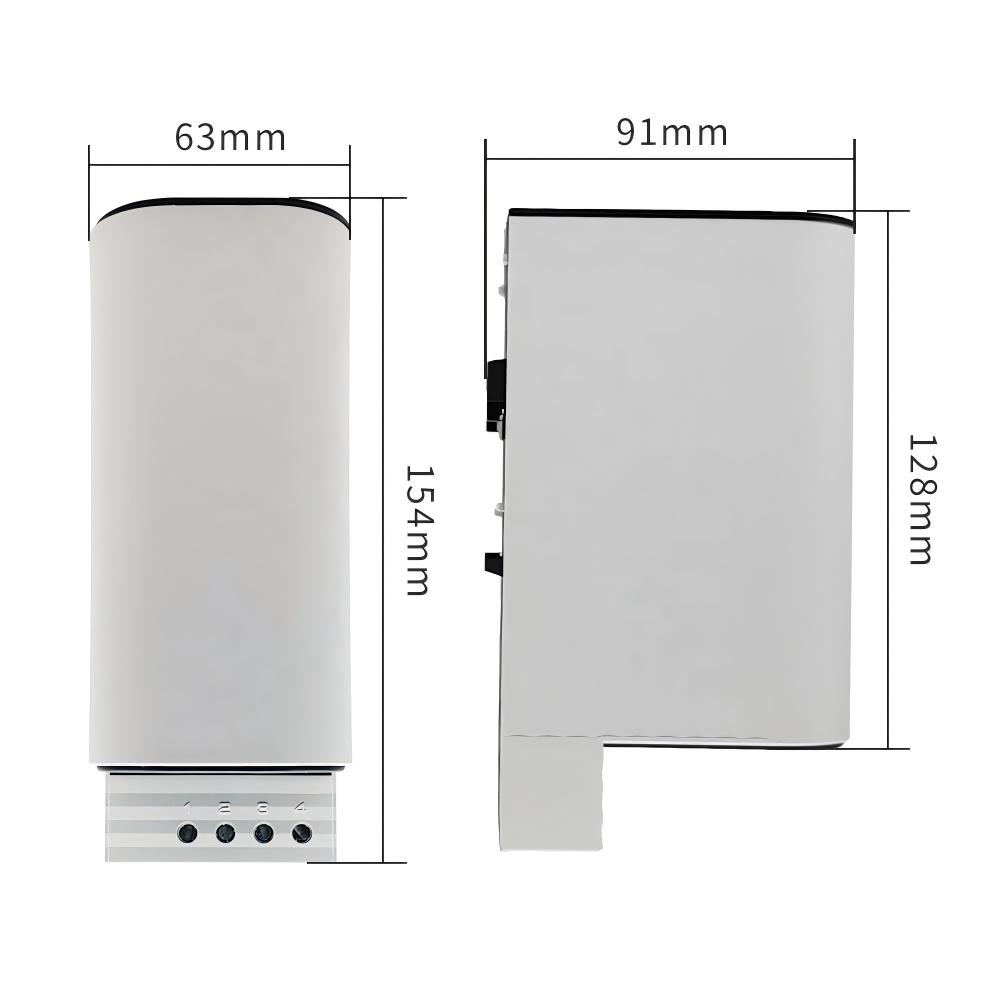
Surface area is the total external area of the cabinet in square meters, counting all six sides. A 24 × 24 × 12 inch wall-mount box works out to roughly 0.56 square meters of surface; a floor-standing 72 × 24 × 24 inch cabinet is closer to 2.3 square meters. Get out a tape measure and add up all six faces, not just the front.
Heat loss factor accounts for the material. Painted sheet steel loses heat at a bit more than 5 watts per square meter per degree Celsius of difference, so a value around 5.5 W/m²·°C is a common starting point.
Stainless steel runs slightly higher, insulated or double-wall enclosures run lower, and a plastic enclosure loses less than steel. If you’re working in imperial units, the same idea applies with different numbers; just keep all your units consistent.
Temperature difference is the gap between the coldest temperature you expect at the site and the temperature you want to hold inside the cabinet. And here’s the key: you’re not heating the cabinet to room temperature.
You only need the inside a few degrees above the dew point, so on a cold night you might target maybe 40 °F inside, not 70 °F. That modest target is why a surprisingly small heater handles a surprisingly big cabinet.
Run the numbers on that 24-inch wall-mount box in a climate where it can drop to 0 °F outside while you’re holding roughly 40 °F inside, and the math lands you in the neighborhood of 100 watts. The same box in a mild coastal area where it rarely freezes might only need 50.
A floor-standing cabinet with more surface area, or a site that gets truly cold, climbs from there into the 200 to 400 watt range. These are ballpark figures, but they’ll keep you honest, which is more than the guesswork method does.

The factors the formula misses
The formula gets you in the ballpark. Then real life adds a few wrinkles, all of which push you toward sizing up rather than down:
- Wind: A cabinet mounted on an exposed pole or a windy rooftop sheds heat much faster than the still-air math suggests. A windbreak or a more sheltered mounting spot helps; if you can’t move it, add margin to the heater.
- Sun load: A black cabinet in full sun actually needs less heat in the daytime, but it also swings harder at night when the sun goes down, which is exactly when condensation forms. Don’t size for the sunny afternoon; size for the 4 a.m. low.
- What’s inside: Big contactors, transformers, and VFDs dump heat into the cabinet while they run, which helps you at night in an odd way, because the equipment keeps the box warm. But if the process shuts down at night, or the gear sits idle for weeks, you can’t count on that heat. Size as if the cabinet is empty at night, because during an outage it is.
- Mounting and placement: Where the heater sits matters as much as its wattage. Mount it low in the cabinet so it warms the whole air column by convection, keep it clear of plastic wiring trays and cable bundles that can’t take the heat, and give it enough clearance that nothing touches the element. Manufacturers publish minimum clearances for a reason. A 150-watt heater crammed against a bundle of PVC-jacketed cables can soften the insulation over a few seasons even though the wattage is “correct.”
- The controls: A heater without a thermostat or humidity controller isn’t sized so much as it’s on all the time. That wastes power and, on a warm day, pushes the cabinet temperature up pointlessly, which ages electrolytic capacitors and stresses seals. The standard setup is a heater controlled by a thermostat set to switch on around 40 to 50 °F, or a hygrostat that fires the heater when internal humidity climbs past roughly 60 to 70 percent. Humidity-based control is usually the smarter choice for condensation, because it catches the muggy spring days when it’s 60 degrees out but the cabinet is sweating anyway.
Common mistakes to avoid
- Oversizing “for safety”: A heater twice the size it needs to be doesn’t protect twice as well. It creates hot spots, cooks nearby components, and shortens the life of everything in the box. Control it properly and even a correctly sized heater barely runs.
- Forgetting the voltage: panels run 120 V or 240 V; a lot of imported heaters are built for 230 V. Check the nameplate and order the right voltage, because a 230 V heater on 120 V puts out a fraction of its rated heat, and a 120 V heater on 240 V can burn up fast.
- Ignoring certification: If the cabinet feeds an inspected installation, the heater needs to be listed for the application. Ask for UL or the equivalent documentation up front, and treat “CE and RoHS” as a conversation starter, not the final answer.
- Skipping the drain: A heater stops condensation from forming, but if water already gets in through a bad gland or a missing rain hood, no wattage saves you. Fix the water entry first, then size the heater.
A quick way to check your work
If you’ve already got a heater installed and you’re not sure it’s right, do the practical test. On the coldest morning of the season, open the cabinet before sunrise. The interior should feel noticeably warmer than the outside air, and there should be no beading on the metal.
If it’s cold inside or water is forming, bump up a size, and if the cabinet is hot to the touch on a normal day, step down or add a thermostat. Your hands and a little dew-point sense will tell you more than any spreadsheet.
Sizing an anti-condensation heater is a ten-minute calculation that saves years of nuisance calls, corrosion damage, and premature drive failures.
Do the surface-area math, add margin for the site, control it with a thermostat or hygrostat, and you’ll have a cabinet that stays dry through every season, which is exactly what a heater is supposed to do.